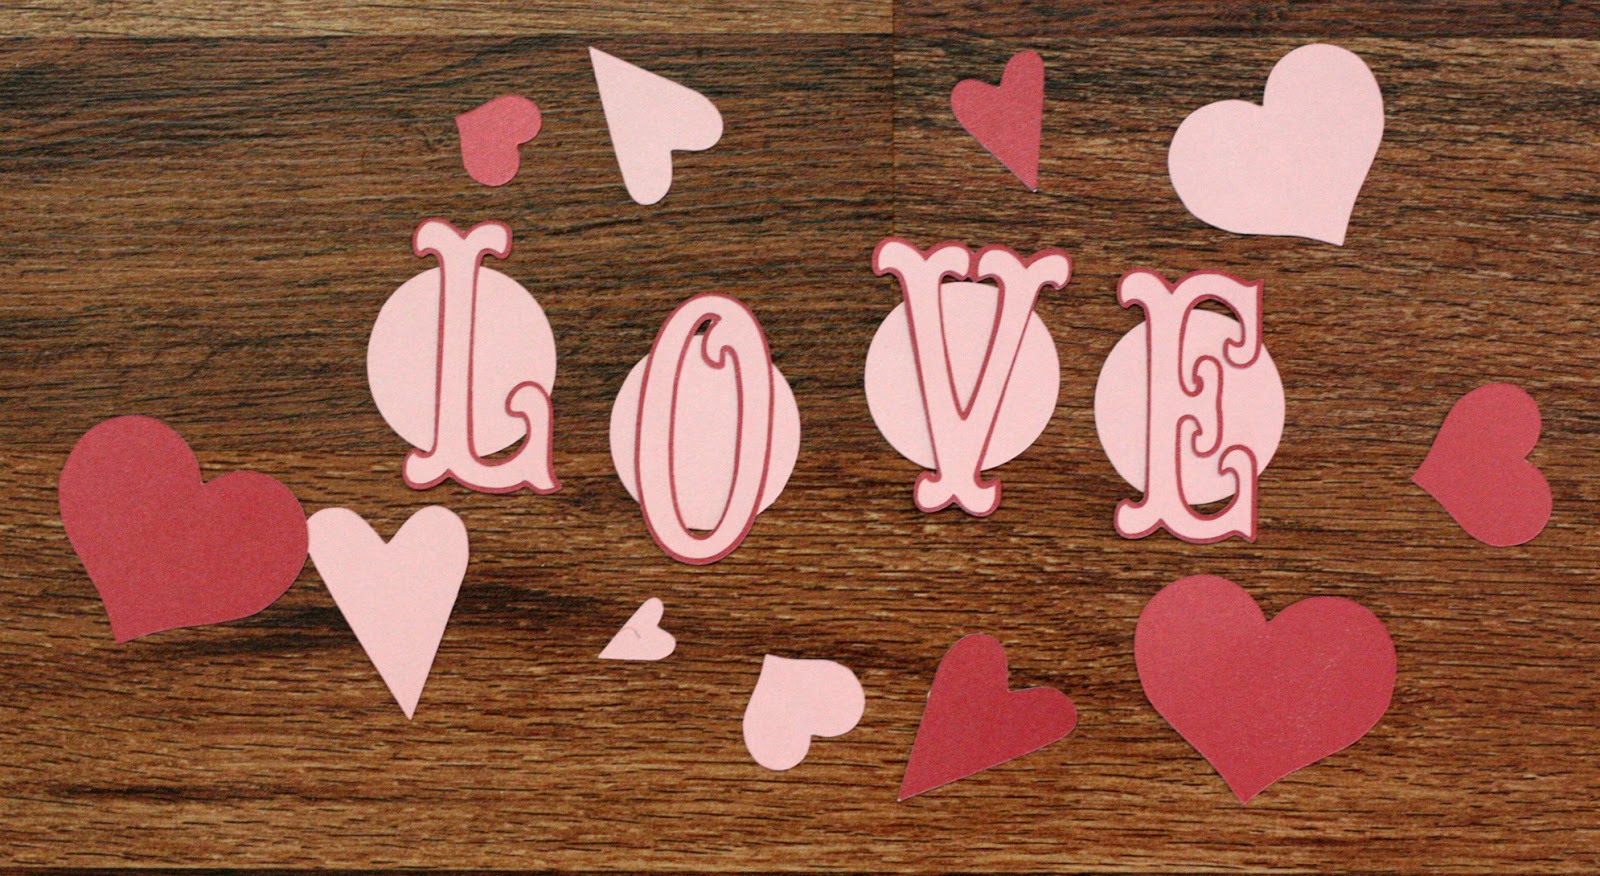
Hello! Today I'm sharing a fun Magnetic Bookmark Tutorial on the CutCardstock.com Blog, and let me say I was so happy with the way it turned out, not to mention it was super easy. Hope you'll get a second to check it out...
Supplies Used:
Esse Cardstock
Tombow Mono Multi-purpose Glue
Copic Markers
Gellatos
Magnet Tape by Xyron
Twine
Stamps: Mint Owl Studio
Die: My Favorite Things
Remember, the full tutorial is over on their blog, don't miss it!
Happy Crafting!
Lisa
I've
also created a step by step tutorial with some photos so you can
recreate this banner for your home, school, or party:
Start by cutting out your selected pennants and adding a strip of
Dazzling Resin Jewel Self Adhesive Sheet to the top of each one.
You will then use twine or string and start to add your pennants by
first punching a hole on each side of each one and tying them on.
It was during this step that I folded a few mini cones in half.
(Four, one on each side of the first and last pennant.)
Next you will start creating your rosettes by trimming the strips
provided in the DIY Banners Stack, score the strips at every 1/2”,
and fold back and forth until you have 4 small “fanned” strips
as shown in the photo below. You will then start gluing (hot glue
works wonders for this step!) the strips together to create one long
strip, also seen in the photo.
Glue the ends of your strip together to create a circle.
Using a paper punch, die, cutting machine, or hand cut 4 circles to
be the backing for the rosettes. You will then push your scored
circle down and glue to the back circle you've just created as seen
below.
Die cut, hand cut or use a cutting machine to create various sized
hearts for embellishments and your letters for the banner. Add the
letters together (the Xyron® Sticker Maker is fabulous for this!) and then to the rosettes with hot glue.
Now you can add your lettered rosettes, hearts and other
embellishments to your pennants and hang your banner for all to
enjoy!
Thanks
so much for stopping by today and Happy Crafting!
Lisa
I am a SAHM to two beautiful (and no way am I biased! ) children... Aiden and Madeline! I have a wonderful hubby who not only lets me continue in my crafty addictions, but he supports it! ( I know! My jaw is dropped too! ) I have been an addict to papercrafts for little over 5 years now, and I'm even more so now that I have discovered the wonderful world of blogging! Thank you all for taking the time to look at my work and for your ever encouraging comments!!!