Showing posts with label distress ink. Show all posts

Friday, July 6, 2018

Let's Shell-ebrate!

Hello!!!  It's Lisa here today and I'm still in a party mood here after the celebrating the 4th, so I mixed that with the heat we've been experiencing in Ohio and came up with this cutie...

And all of this came from one little mini stamp set called Shell-ebration and with their Brush Waves Stencil! To create my card I started by going over my stencil with various Distress Oxide Inks.  While the stencil was still in place I spritzed it with Distress Resist Spray ( I LOVE how shiny this made my background, and it really added to the water look).  I removed the stencil and covered the background with more distress inks to complete my ocean water.  I finished the panel by diecutting it with a postage die from Winnie and Walter Stamps.

I then stamped and colored the turtles, hat, and presents on separate cardstock and cut it all out.  The sentiment was stamped onto a light blue cardstock with a dark blue ink to blend in with my stenciled background.  I finished the card off by adhering everything together and finally adding that panel onto some patterned paper.  ( I also added a few small sequins for a bubble effect )


Thanks so much for stopping by and I hope you have a fantastic weekend!
Happy Crafting!
Lisa

Supplies Used:
       

Sunday, May 13, 2018

Spotlight on STAMPlorations Blog

Hello and Happy Mother's Day!!!  I hope you are all having a wonderful day and that the mother's in your life as well as yourself are being spoiled rotten! :)
Today I'm over on the STAMPlorations blog
spotlighting the Life in Full Color Stamp Set with a mix of their Peony No. 1 and Peony No. 2 stencils...


I'd love to see you over there!  Plus they are running a special sale on Moms, Dads and Grads, and if you use my code you will save an additional 15% off your total!!!

Discount Code: STAMPGIRLLISA

Thanks so much for stopping by and Happy Crafting!
Lisa

Saturday, March 31, 2018

Winnie & Walter Leading Lady: Make New Friends but Keep the Old

Do you remember that song that others might have sang to you as a child? Make new friends, but keep the old, one is silver and the other is gold.  I have to admit that I sing it to my children occasionally, and it always makes us smile.  It's a wonderful reminder to us that while new things are fun and exciting, older things should not be tossed aside as they may still be reliable, trusted and cherished.  I feel this can be applied to crafting as well.  There are always so many wonderful new products that we can't wait to get our hands on (and for good reason to!), but we shouldn't forget about those oldies but goodies, and it's fun to mix the two.  So for my final post as Leading Lady I'm going to share a few ways I mixed so many great new products with some of my older stained and loved Winnie and Walter goodies.

My first project is also a case(ing) of one of my older projects.  I love the look of inlaid die cutting, and the Mini Scenery: Bed of Roses Stamp Set is the perfect to set to die cut sentiments into...


For this new version of the card I decided to also use a spotlight technique, and colored in the outer parts of the die cut word with bright colors and I kept the sentiment (from the In a Word: Cuddles Cutaway)  monotone with grey.


I think this helps the sentiment stand out a little more, and it also draws the eye in.  I also used the Essentials: Lana Cutaway to frame the panel.  And here's a look at the project I had case(d) this card from just so you can compare the two.


My second project(s) are mini in size, but pack a cute punch...


Every day I send notes in my kids' lunch bags.  Sometimes they are just to send a smile, to build them up if I know they've hit a rough patch, or to let them know I'm thinking of them.  These mini cards are the perfect size to do just that!  For these cards I've mixed the older Ring in the Celebration Stamp Set with the newer Dog-gone Cute with Evelin T Designs Stamp and Cutaways and the Purrfect with Evelin T Designs Stamp and Cutaways.


To color these fur babies in I used my Zig Clean Color Real Brush Markers, and I was so excited on how the fur turned out.  I normally have a hard time achieving a fur look on my animals, but the thin brush tip on these markers made it super easy.  The rest of the cards were colored with Distress Ink, and a few enamel dots on each finished them off.

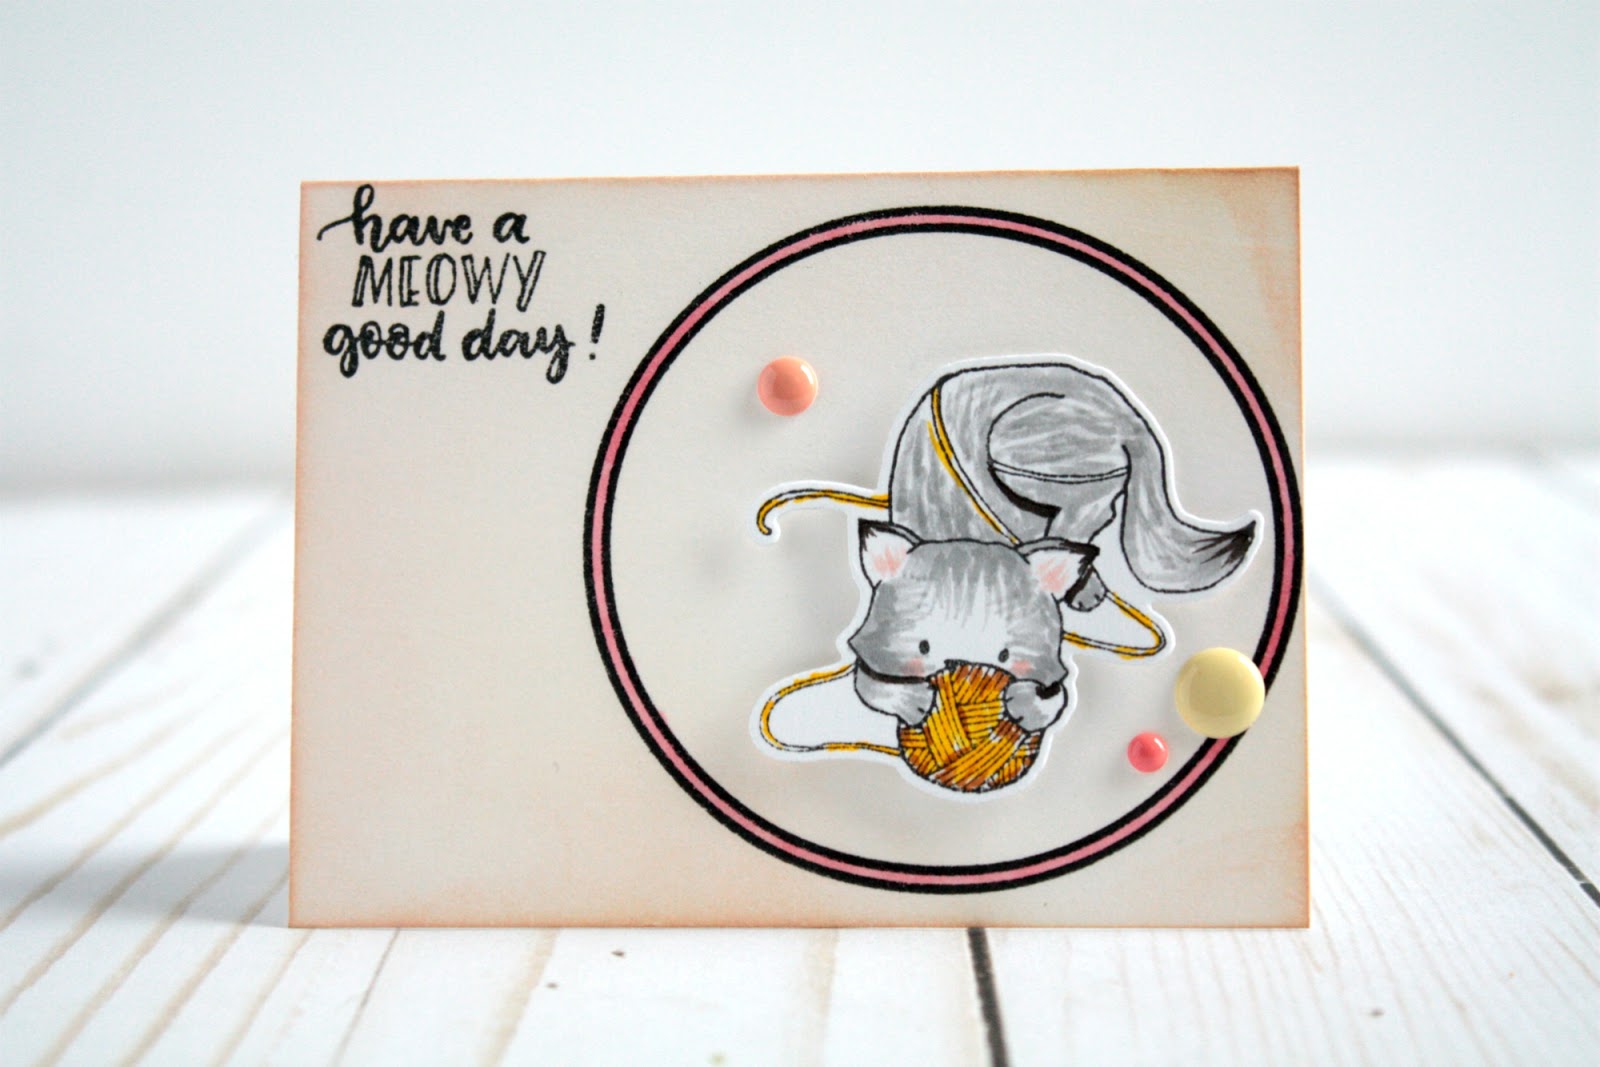
This next project shows off another super cute kitty from the Purrfect with Evelin T Designs Stamp and Cutaways in a fun way...


I've used the older True Multifaceted Star Cutaway as a play toy for this cute kitty.  And I finished the card off with a sentiment and stars from the Wishing You with Evelin T Designs Set.


For my final project I've taken it off the page and I wanted to share a sweet wooden tag/ornament that is sure to please the recipient or to brighten any spot in your own home...


In one of my earlier posts this month I showed coloring on wood veneer, not I'm showing stamping and coloring onto a wood slice!  Colored pencils are the key to these adorable tags.  I actually created some of these a few weeks ago using the LS Exclusives: So Tweet with Evelin T Designs Stamp Set and added them onto gift bags.  It was like giving a gift on a gift!  For the above example I used a sentiment from the In a Word: Love Stamp Set and regular Dye Ink.


And there you have it!  My final project as a leading lady for the month of March.  I can not thank Shay enough for having me, and letting me share some of my projects with all of you.  And thank you to all who have come to visit, check my projects out, and have left such kind words for me.
And don't forget to leave a comment on todays post for a last entry into my giveaway.


And if you leave comments on any cooresponding instagram posts you will get an extra entry! :)
And as my title to this post indicated I hope I've made some new friends and delighted some old friends along the way.  
Happy Crafting!
Lisa

Sunday, May 21, 2017

You Make Me A Happy Camper

It's time for a new MarkerPOP Challenge, woot woot!  Which means fun, inspiration, and prizes!!!  Here is the new inspirational photo...


If I had a tent that lit up like this you better believe I'd go camping, hehehe!  And here is how I was inspired...


 I couldn't help but go right to my Avery Elle Glamper Campers Stamp Set when getting crafty with this challenge!  I stamped both campers onto cardstock, colored and cut them out.  Next, I worked on my night sky with a mix of Distress Ink and Distress Oxide.  I also added a few splashes of silver mist to represent stars in my sky.  I love how the My Favorite Things Rectangle Frame Die makes it easy for any sentiment to pop out, while not distracting from the rest of the scene.

I hope you will join us in our bi-weekly challenge, just use some markers that are carried in the MarkerPOP store and you are good to go!
Happy Crafting!
Lisa

Friday, February 10, 2017

Somebunny Is Over On Gerda Steiner Designs Blog

Hello!  Yep, I'm totally nerdy with that title, and I'm totally ok with that haha!  Today you will find me over on the Gerda Steiner Designs Blog sharing this super cute card using the new Hoppiness Stamp Set...


 Full details on how this card came together can be found on their blog!  Hope to see you over there...


Thanks so much for stopping by, and don't forget to check this and other cute sets now available in the store!

Thursday, February 2, 2017

STAMPlorations February CAS Challenge

Hello, hello!  Yay!!!  It's a new Clean and Simple challenge day for STAMPlorations!  Plus, have you seen their newest release?!  LOVE it!!!  And I have a coupon code you can use on the already discounted price! Code: STAMPGIRLLISA

Now onto my card for the new challenge: (optional twist of hot pink).


To create this card I started by going over a panel of card stock with Picked Raspberry.  Once the entire panel was covered I went over it with the ARTplorations: Old Rose Prints Stencil and Nuvo Glimmer Paste.  The shine of this card is stunning in person!  While this sat off to dry I stamped the heart image and sentiment from the Funny Kinda Love Stamp Set.  I trimmed this and adhered it to a black strip.  This was all adhered to my stenciled panel with double sided adhesive.

Thanks so much for stopping by and I can't wait to see what you will be creating this month!
Happy Crafting!

Thursday, December 15, 2016

CAS and ARTplorations Blog Hop Day 2

Hi!  Today I have a 2 in 1 kind of post for the STAMPlorations Blog... we are sharing our Day 2 projects for the ARTplorations Hop so make sure you click over to their blog to start at the beginning, as well as today begins a new Monthly CAS Challenge where we are challenging you to use red and green, and here is what I've created...


To create this card I started by going over the Broken Glass Stencil with various green distress ink, and then I added a few spritz of water and set it off to the side to dry.  I then diecut the Peace, Love, Joy Word Phrase out of red glitter cardstock and adhered it to the front.

Thanks so much for stopping by today!  Make sure you head over to the STAMPlorations CAS Challenge and the Blog Hop!

Happy Crafting!
Lisa

Tuesday, October 18, 2016

CAS-ual Fridays Release Day 2: Be

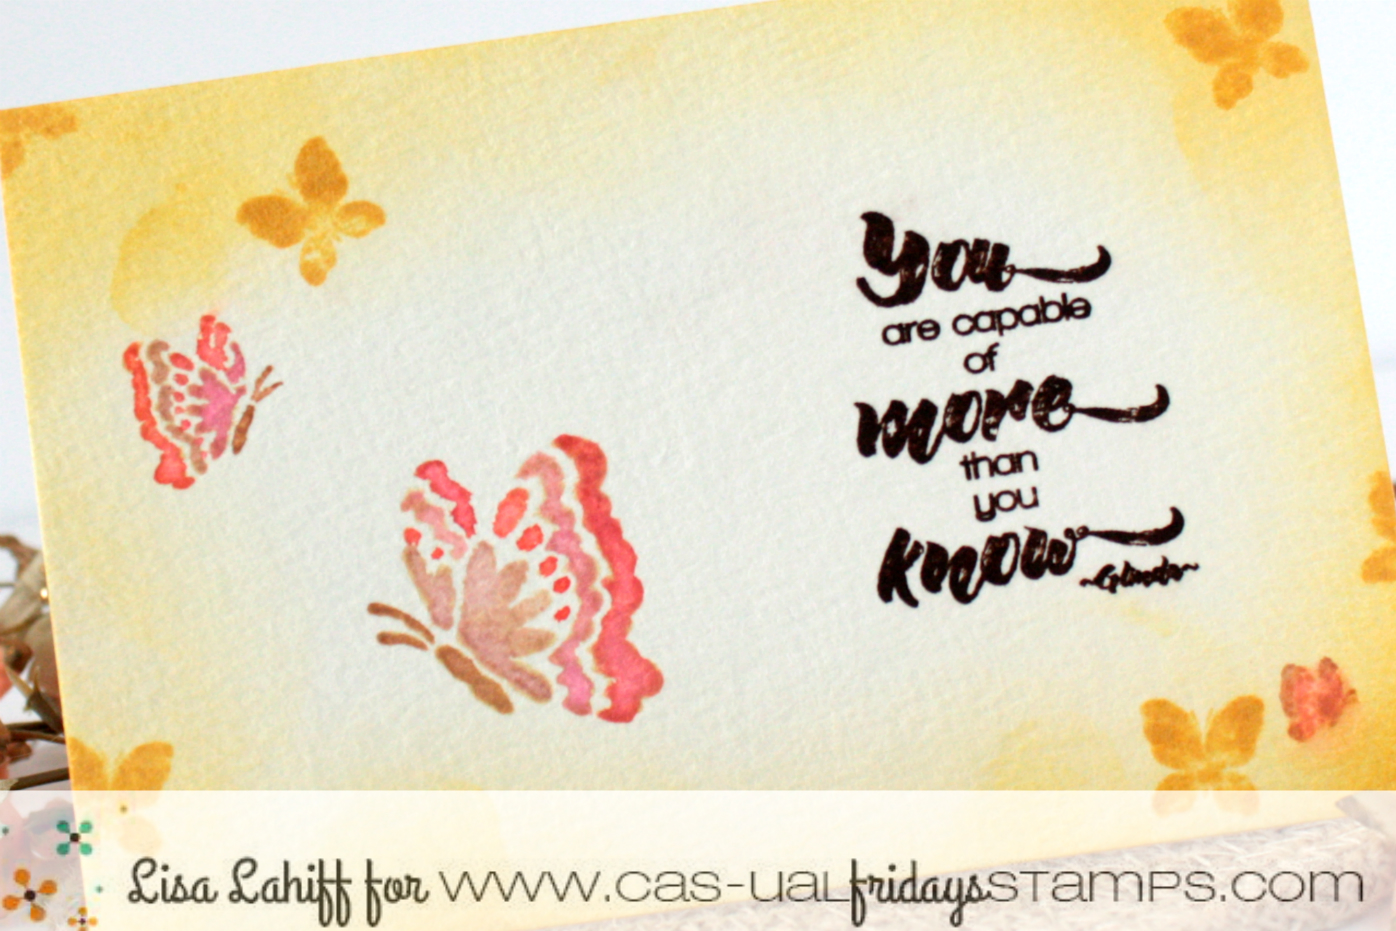
Hello!  Welcome to Day 2 of the CAS-ual Fridays' Stamp Release for the Callin' All Sistahs Collection, yay!!!!  This new set is called Be and it has some awesome sentiments as well as a few beautiful butterfly images.


Isn't this sentiment just awesome?!  And it can be used for many uplifting occasions.  To create this postcard I started by stamping the 3 side butterfly images in antique linen distress ink and then I used other pink distress ink colors to water paint  over top of the images so that they appear to be done free handed.  While these dried I stamped the sentiment in a dark brown ink and went over the front corners with distress ink in scattered straw.  I finished the post card by stamping more butterfly images in the same scattered straw ink.

Make sure you stop by the CAS-ual Friday Stamps Blog for more inspiration, and you can purchase the Be stamp set as of today! YAY!!!  And it gets better, because I have a discount code for you to use too!


Happy Shopping/Crafting!
Lisa

Tuesday, March 1, 2016

Lady Luck with V's Sweet Ideas

Hello!  This is a bit of a sad post today as this will be the last V's Sweet Ideas Challenge for a little while.  I've been with Vanessa and her team from it's start and absolutely love working with her fun stamps and products, you can check them out in her store by clicking here.  Anywho, this month's challenge is called Lady Luck, and you can interpret this any way you want...


I've created this card with V's Sweet Ideas Coffee Break Stamp Set... I love this image and the green from Starbucks had me thinking luck for this challenge so I've used Lucky Clover Distress ink and some Copics for coloring.  A touch of glitter cardstock set it off :).

Thanks so much for stopping by and I can't wait to see what you will be creating for this challenge!
Happy Crafting!
Lisa

Thursday, February 18, 2016

STAMPlorations CAS Challenge Reminder


Hello!  Today we are sharing a reminder and more inspiration for the STAMPlorations Clean and Simple Challenge: Anything Goes (optional twist: Red).  Here's what I've created...


To create this card I started my diecutting my heart and then embossing my sentiment from the Fond Expressions 2 Stamp Set in white Embossing powder.  Next I used distress ink in the color Fired Brick and blended it up from the bottom of the heart to the top, giving a nice gradient look of reds.  I used the heart to base here where I would stamp the smaller heart images from the Balloons and Banners Stamp Set.  I then went over the rectangle panel with distress ink in Scattered Straw and Wild Honey.  Finally I adhered the heart with foam adhesive and adhered it all to the cardbase.

Thanks so much for stopping by and I can't wait to see what you will create for this challenge!
Happy Crafting!
Lisa

Wednesday, February 17, 2016

With Sympathy

Hello again!  Today you can also find me sharing a soft sympathy card on The Mint Owl Studio Blog using the new Scripty Sentiments Set... ( The font in this set is beautiful! )


To create this card I started by embossing my sentiment and then covering the panel in three different blue shades of distress ink: faded jeans, Broken China, and Chipped Sapphire.  I then spritzed a mask with water before laying it onto the panel.  I then did this three times.  I finished by picking sequins out of the Chocolate Truffle and Peach Passion.  

Thanks so much for stopping by and Happy Crafting!
Lisa

Friday, February 5, 2016

Framed Love for CutCardstock.com


Hi!  Today you will find me on the CutCardstock.com Blog sharing a how to for a new home decor piece.  Hope you will get time to stop by and check it out!


I am also linking this up to the Simon Says Stamp: Have a Heart Challenge

Thanks so much for stopping by today!
Happy Crafting!
Lisa


Supplies Used:
        

Wednesday, July 22, 2015

Sending a Little Sunshine

Hello!!!  Today I am sending you all a little sunshine with this super happy card that I've created using the new Neener Neener Stamp Set from The Alley Way Stamps.  I must also mention that this set is the free with any $40 purchase this month, so double score!  Now let's check out my card...


Now this card came together quite easily and on a whim for me.  I'm going to use one of Virginia Lu's words and label this card a pot luck card.  This means I had random things laying on my desk from past projects and I mixed them all together to create this card!  Love it!  Since the distressed hill and frame were already done I then chose to diecut two yellow circles for dimension on my sun and stamped the face on top.  When I first laid this down and stamped my sentiment from the More Than Words Set I felt it looked bare, that's when I decided to add a background with stencils and distress ink to keep the colors cohesive.  I then added the arrow at the last minute and loved it! :)  Hope this card has brought you a smile today!

I am entering this into the Papertake Weekly Challenge: Build it Up

Happy Crafting!  And make sure you stop by The Alley Way Stamps Blog to check out more inspiration!
Lisa

Monday, June 8, 2015

Fairy Kisses at Night

Hello!  I hope you had a nice weekend!  Today you will find me here and on The Alley Way Stamps Blog sharing this mystical little night scene with the new Twinkle Toes Stamp Set...


Supplies Used:
Stamps: Twinkle Toes and Ta-da! from The Alley Way Stamps
Various Copics
Distress Inks
Embossing Powder: Clear and 24k. Gold
Ink: Memento
Foam Adhesive

Isn't she so fun?  I wanted to really get creative with this set, and that meant with my coloring too.  So I chose fun, bright colors.  I also wanted my mushrooms to appear like they were glowing in the dark, so that is why I chose the blues and greens on top.

I am entering this into the Marker Pop Anything Goes Challenge

Thanks so much for stopping by!
Happy Crafting!
Lisa

Thursday, March 5, 2015

Feeling Lucky?

Hi!  I'm popping in with a fun card I have created for two challenges... Simon Says Stamp Monday Challenge: Just a Hint of Green, and the other challenge is a newbie: Sparkle and Shine...


and here is what I created...


I started with a rectangle and adding distress ink in Mowed Lawn from the inside to the outer edges ( fairly opposite from how I normally apply distress ink, but I wanted the concentration of color to be in the middle).  For a little discoloration I added some splashes of gold spray mist.  I then diecut the word lucky three times down the middle and left them in-tacked.  I then took it a step further and diecut one side with the Pretty Pink Posh's stitched borders 1 die.  To finish the card I masked and stamped the word die, and finally added some sequins from Pretty Pink Posh up the side.

Thank you so much for stopping by and Happy Crafting!
Lisa

Tuesday, October 28, 2014

Happy Halloween - Spooky Style!

Hello!  Today starts a new challenge at SweetStamps.com, and we are going Spooky this week!  Perfect for this week being Halloween!


I started this card by embossing the chipboard pieces with various enamel embossing powders.  Next I started creating my scene by masking a circle for my moon, and adding distress ink.  The chipboard pieces were adhered and I went over the house windows with gold glitter glue. I stamped by witch and sentiment over the moon, and finished it all off with some patterned paper and twine.

I am also adding this to the following challenges:
Red Carpet Studio: Haunted Mansion
Without Words: Boo Challenge

I hope to see you join us for this weeks challenge for a chance to win a $20 shopping spree!

Happy Crafting!
Lisa


Supplies Used:

Haunted House Accents A110   Halloween Silhouettes Clear Stamp Set AF4617   Enamel Embossing Powder Adhesive       Enamel EP SIAM SILVER  Enamel EP STARRY SKY 
Distress Ink Pad BLACK SOOT
  Distress Ink Pad CHIPPED SAPPHIRE   Distress Ink Pad PEELED PAINT

 
BLOGGER TEMPLATE BY DESIGNER BLOGS