Showing posts with label valentine. Show all posts

Sunday, February 12, 2017

Love Always - MarkerPOP Bi-Weekly Challenge

Hello!  I hope you are having a nice weekend so far!  I'm popping in for some crafty fun as a new MarkerPOP Challenge is starting today, woot woot!  Joining our challenges is so easy as the only thing that is required is that you use some type of marker that is carried in the MarkerPOP store.  And if you are running low on your markers you totally want to hit the store up as she recently got a restock in Copic® Markers.  Any who, enough enabling right?  (by the way did I mention her marker prices are incredible? hehehe!)  So onto this two week challenge inspirational photo...


Hello yummy photo!  Not only does the popcorn look so good, but the colors make my mouth water too!  (You don't find colors yummy?  That's just me? huh... well let's move on then shall we?...)

And here is my take on the photo...

 bwahahaha!  Look!  The birdies are on a date!  I LOVE it!!!  ( I also love exclamation points, but I think you already noticed that)  I was inspired by the colors in the photo and the sprinkling of red.  Right away my mind went to the Concord and 9th Love Always Stamp Set with the raining of hearts image.  I also was drawn to the large tag in the photo and grabbed my Pretty Pink Posh Craft Die Set Stitched Duo 1.  And to finish it off I used my Winnie and Walter So Tweet Stamp Set.

I hope to see you enter over the next two weeks for a chance to win a goody box of craft supplies!  (who doesn't love surprises when it comes to crafting goodies?!)

Happy Crafting!
Lisa

Thursday, February 9, 2017

CAS-ual Fridays One Layer Love

Hi!  Today you will find me sharing a One Layer Valentine on the CAS-ual Fridays Blog with several new stamp sets!


 To create this one layer card I started by covering my cardbase with a mask of a negative heart cut.  I then used the Full On Floral Stamp Set and stamped over the open heart image with a gradient ink.  Next, I added my sentiment from the Heartfelt Sayings Set at an angle.  I felt like the card was still a little plain so I added some embossed lines along the top and distress ink along the edges.  I then went over he floral heart with clear rhinestones and a Gold Metallic Pen.

Have you seen all of the newest goodies that were released last week?!  If not make sure you check them out!  And just for you I have a discount for you to use and save off of your total purchase! woot woot!


Happy Crafting!
Lisa

Thursday, February 2, 2017

STAMPlorations February CAS Challenge

Hello, hello!  Yay!!!  It's a new Clean and Simple challenge day for STAMPlorations!  Plus, have you seen their newest release?!  LOVE it!!!  And I have a coupon code you can use on the already discounted price! Code: STAMPGIRLLISA

Now onto my card for the new challenge: (optional twist of hot pink).


To create this card I started by going over a panel of card stock with Picked Raspberry.  Once the entire panel was covered I went over it with the ARTplorations: Old Rose Prints Stencil and Nuvo Glimmer Paste.  The shine of this card is stunning in person!  While this sat off to dry I stamped the heart image and sentiment from the Funny Kinda Love Stamp Set.  I trimmed this and adhered it to a black strip.  This was all adhered to my stenciled panel with double sided adhesive.

Thanks so much for stopping by and I can't wait to see what you will be creating this month!
Happy Crafting!

Wednesday, February 1, 2017

You Are Loved... Home Decor

This is post #3 of 3 today, whew!  If you are here for the CAS-ual Fridays Stamp Release Day 1 Click here.  Now you can head over to the CutCardstock.com Blog for a full photo tutorial on how this Valentine Home Decor project came together.  It's got a little bit of mess, electronic cutting, and a whole lot of fun for everyone!


Hope to see you over there!
Happy Crafting!
Lisa

Monday, January 30, 2017

Buckets of Love

Hello, hello!  I'm up on the Gerda Steiner Designs Blog again, yay!!!  I have a sweet one layer watercolored card that I've created using the Buckets of Love Stamp Set.  Check it out...


To create this card I started by stamping the bucket of hearts image repeatedly on my front panel of watercolor cardstock.  Next I went in with my Gansai Tambi Watercolor set and went about making a rainbow of buckets.  I just love rainbows, and thought this would really brighten the card up.  I added my sentiment in the bottom right hand corner and finished the card off with some tickles and clear sequins.


Thanks so much for swinging by today, and make sure you grab the Buckets of Love Stamp Set just in time for Valentines Day!

Happy Crafting!

Lisa
Thursday, January 19, 2017

Easy Envelope Goody Bags

Hi!  Today you will find me on the CutCardstock.com Blog sharing a step by step tutorial on how to make these cuties...


Hope to see you over there!
Happy Crafting!
Lisa

Wednesday, January 18, 2017

We Have Great Chemistry...

Hello!  Today you will find me on the MarkerPOP Blog sharing a fun card made with Lawn Fawn goodies and Zig® Clean Color Real Brush Markers.  Something you might want to note is that the new Lawn Fawn CHA release is happening in the MarkerPOP store at the end of this week, with a discount! ekkkk!!! Plus check out the new ZIG that just popped up in the store today, with a discount too!  I'm telling you all of the new goodies that are now available in the store will have you drooling! Any who, here is a peek of what you will find on their blog, so make sure you stop over and check the full post out, plus see all of the new goodness popping up daily in the store!


Happy Crafting/Shopping!
Lisa

Tuesday, January 26, 2016

Love is in the Air... And on My Walls!

Hello!  Today I am sharing a step by step tutorial with photos on the DCWV blog on a super cute Valentine's Banner I've created!


I've created this banner using the DIY Project Stack®: Banners, the DIY Paperie mini cones kit, and the Shimmer Premium Stack. I also chose to add some bling with some DCWV Mini Adhesive Mirrors: Hearts and Dazzling Resin Jewel Self Adhesive Sheet in Pink.


I've also created a step by step tutorial with some photos so you can recreate this banner for your home, school, or party:
  1. Start by cutting out your selected pennants and adding a strip of Dazzling Resin Jewel Self Adhesive Sheet to the top of each one.

  1. You will then use twine or string and start to add your pennants by first punching a hole on each side of each one and tying them on. It was during this step that I folded a few mini cones in half. (Four, one on each side of the first and last pennant.)

  1. Next you will start creating your rosettes by trimming the strips provided in the DIY Banners Stack, score the strips at every 1/2”, and fold back and forth until you have 4 small “fanned” strips as shown in the photo below. You will then start gluing (hot glue works wonders for this step!) the strips together to create one long strip, also seen in the photo.

  1. Glue the ends of your strip together to create a circle.

  1. Using a paper punch, die, cutting machine, or hand cut 4 circles to be the backing for the rosettes. You will then push your scored circle down and glue to the back circle you've just created as seen below.

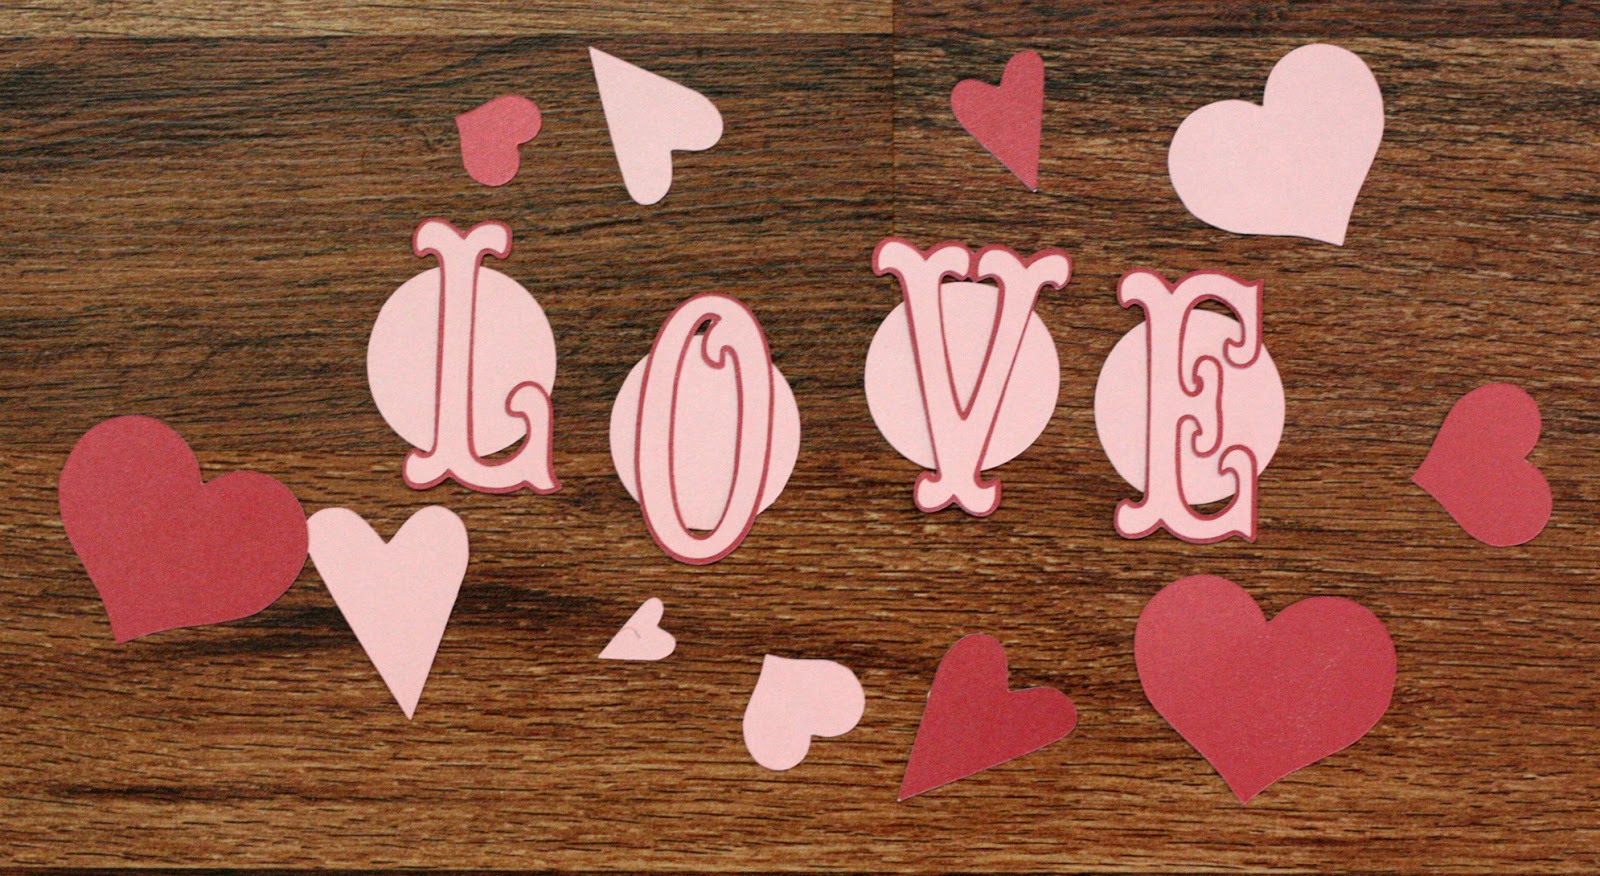
  1. Die cut, hand cut or use a cutting machine to create various sized hearts for embellishments and your letters for the banner. Add the letters together (the Xyron® Sticker Maker is fabulous for this!) and then to the rosettes with hot glue.

  1. Now you can add your lettered rosettes, hearts and other embellishments to your pennants and hang your banner for all to enjoy!


Thanks so much for stopping by today and Happy Crafting!
Lisa

Supplies Used:
Twine/Ribbon
Hole Punch
Scissors
Xyron® Sticker Maker
Hot Glue Gun and Glue


Monday, January 4, 2016

Love Ya with CutCardstock.com

*To see my sneak peek for Mint Owl Studios make sure you scroll down!


Hello!!!  I am sharing a Love inspired card today on CutCardstock.com blog featuring their Stardream Metallic and Curious Metallic Card Stocks and A7 Envelope.  I would love for you to stop by and say hi, plus you'll get an inside look at how this all came together!

Happy Crafting!
Lisa

Friday, January 23, 2015

I Love...

lots of things!  Cute little munchkin things, big manly hubby things, all things that sparkle... yep I'm a lover not a fighter, hehehe!  Today I'm sharing a sweet little Valentine on The SweetStamps.com Blog...


Supplies Used:
Springtime Doodles Clear Stamp Set SS4412
Enamel EP CRANBERRY WINE
 Distress Ink Pad PEACOCK FEATHERS
 Distress Ink Pad SALTY OCEAN
 Self-Adhesive Pearls RED

This card also goes well with our weekly challenge theme: Hearts!  I had so much fun layering this card and heat embossing that beautiful heart, I hope I've inspired you to put a little lovin on your paper too!

I am linking this up to the Simon Says Stamp Challenge: Have A Heart

Happy Crafting!
Lisa
 
BLOGGER TEMPLATE BY DESIGNER BLOGS